 Rainbows are beautiful, colourful things and it is a fun act activity for children to create them. We had fun using the Hamley’s Rainbow Painter and I’d like to share with you how you can paint rainbows too.
The colours of the rainbow are red, orange, yellow, green, blue, indigo and violet (according to the song). But in truth you can create rainbow like effects by using less colours too.
Earlier this year I made a rainbow with my toddler class using colourful wool and cotton wool for clouds on either side. That’s another easy way to bring colour to life.
 Of course you can paint them colour by colour too. Nicky was busy doing that initially. He even likes to build them with some plastic bits and pieces we obtained on the cheap from our local charity shop.
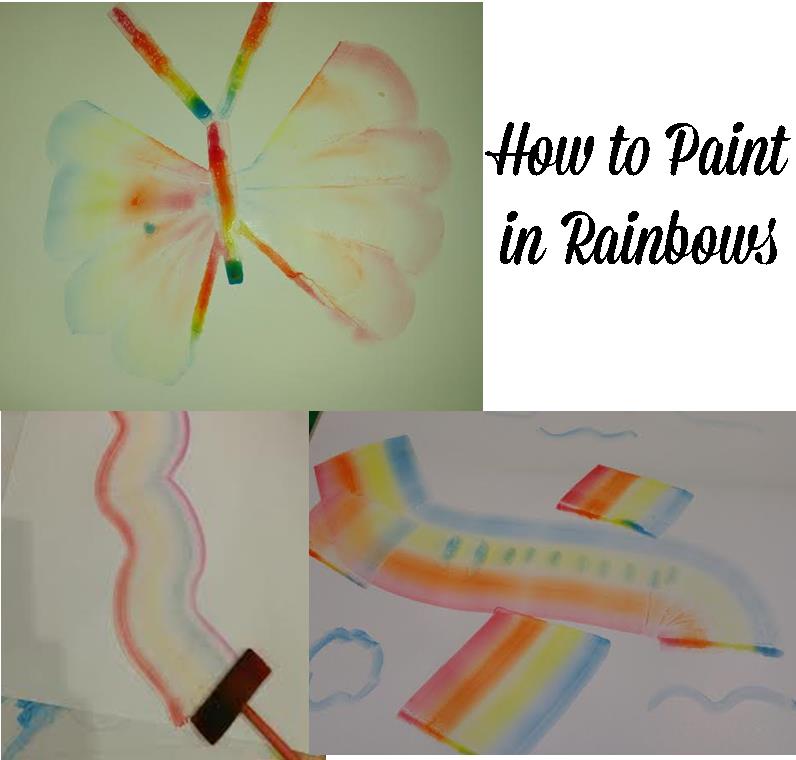
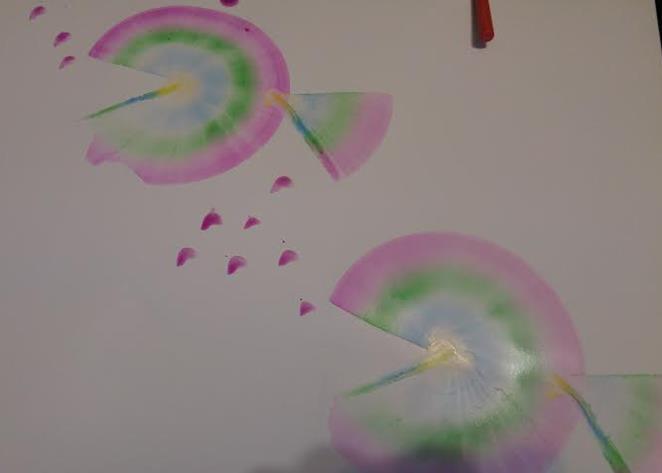
If you really want to create lovely rainbows, and even paint other pictures with this effect, then here is a step by step guide on how to put them together.
 What you’ll need:
- water
- sponge covered brushes
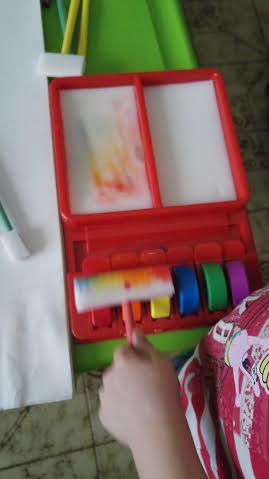
- a group of watercolour paints in a row
=> all of which can be found in the Hamley’s Rainbow Painter, which also includes instructions and suggestions for pictures you can create with this style.
Method:
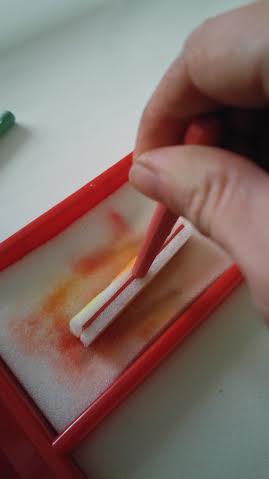
Step 1: Dip brush into sponge to absorb water.
Step 2: Apply colours by rubbing brush back and forth over the paint blocks.
Step 1: Make sure your sponge covered painter is wet. In the Hamley’s Rainbow Painter set there are two sponge “beds”. One is for pouring water in and making the sponge wet. The other one is to stay dry and let you wipe off excess water. Dip the sponge painter into the sponge bed firmly.
Step 2: Scrape the sponge painter against the paint at least five times. The more paint you have, the brighter the colours.
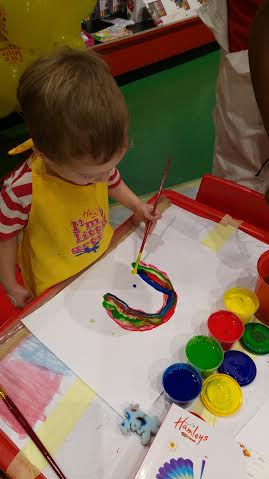
Step 3: Paint!
Here is my little Nicky doing his own rainbow:
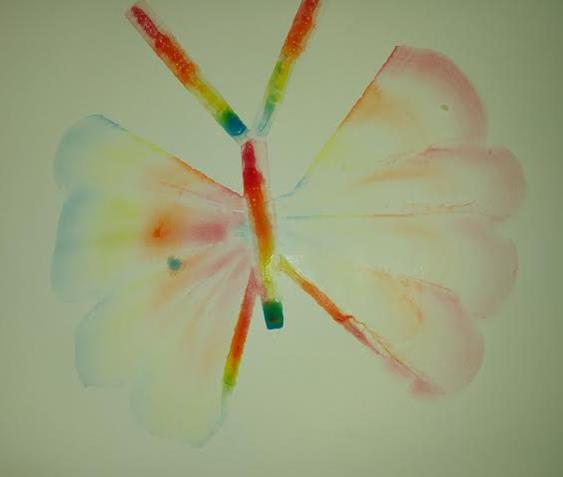
There are lots of pictures you can make with rainbows, and here are some that we tried: butterfly, aeroplane, fish, bird and others.

Many thanks to Hamleys, who provided me with the kit.
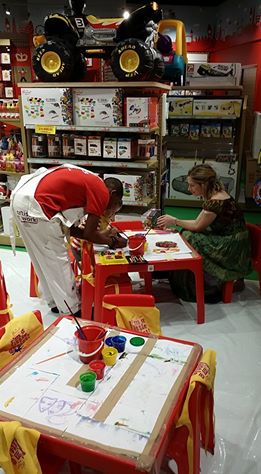
Hamleys were having an art activity at their stores this last Satuday and Nicky had fun painting with different colours as well as with the rainbow painter.
Hamleys were very kind to us and took a lot of time to show me how to make the butterfly and also the step by step process of using the kit. So I really appreciated that.
So what are you waiting for? Grab your colours and make a beautiful rainbow!
Wow!! Have to try this with K. Very impressive